ArmA 3, a popular military simulation game, offers a vast multiplayer experience with numerous customization options. To effectively manage and moderate your ArmA 3 multiplayer server, understanding the essential server commands is crucial. In this article, we will explore the key commands that every server admin should be familiar with, including “#login,” “#logout,” “#missions,” “#kick,” “#exec,” “#vote admin,” “#vote missions,” and “#vote kick.” Let’s dive in and learn how to use these commands properly to enhance your ArmA 3 multiplayer server experience.
#login: Admin Access and Control
The “#login” command grants server administrators access to various administrative functionalities. To use this command, simply enter “#login <password>” into the server’s chat box, replacing “<password>” with the actual server admin password. Once logged in, admins gain authority to execute other privileged commands and perform crucial administrative tasks.

When you press “enter” on your keyboard after typing the password, you should see this:

#logout: Relinquishing Admin Privileges


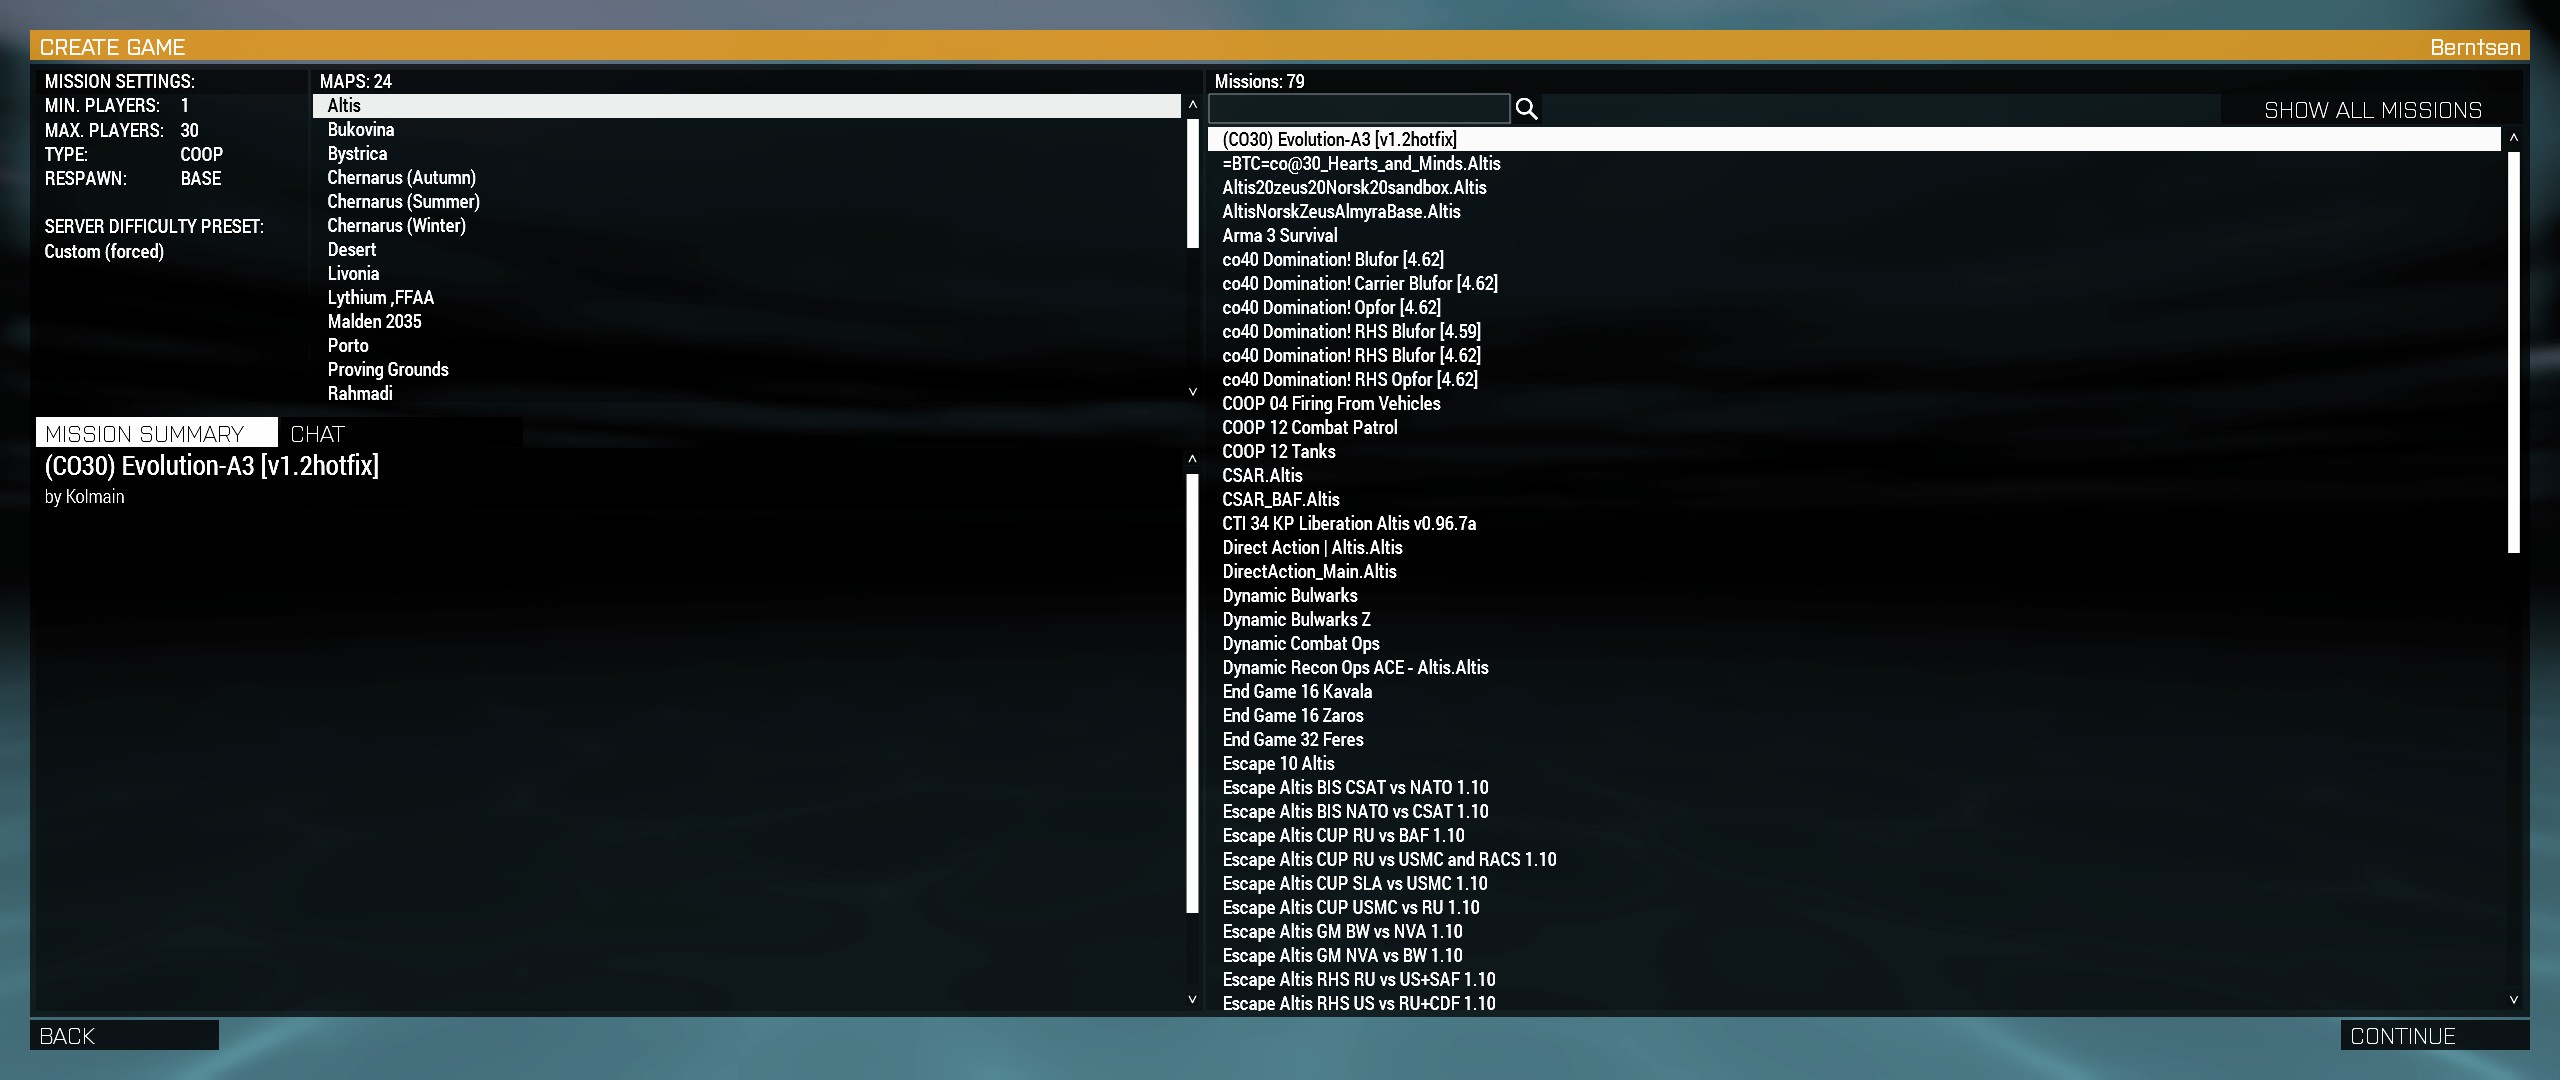
#missions: Managing Available Missions

#exec: Executing Server Configurations
The “#exec” command allows server administrators to execute server-side configurations, including scripts and batch files. This command is particularly useful for automating repetitive tasks or implementing custom server modifications. By typing “#exec <filename.ext>”, replacing “<filename.ext>” with the actual name of the configuration file, admins can trigger the execution of the desired server-side actions. Exercise caution when using this command, as improper configuration execution can lead to undesired consequences.
While this can be used to ban players from the server, it’s usually easier to access their name on the map screen and clicking the “Ban” link there.

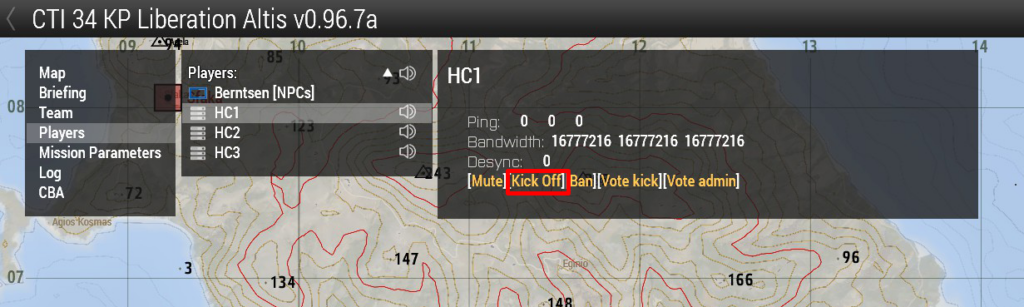
#kick: Maintaining Server Discipline
To maintain a positive and orderly multiplayer environment, server administrators may occasionally need to remove disruptive or rule-breaking players. The “#kick” command empowers admins to swiftly remove individuals from the server. By typing “#kick <player name>”, where “<player name>” represents the name of the offending player, you can effectively enforce server discipline. However, it is important to exercise this authority judiciously and ensure fair treatment to all players.
This feature can also be accessed through the map menu:
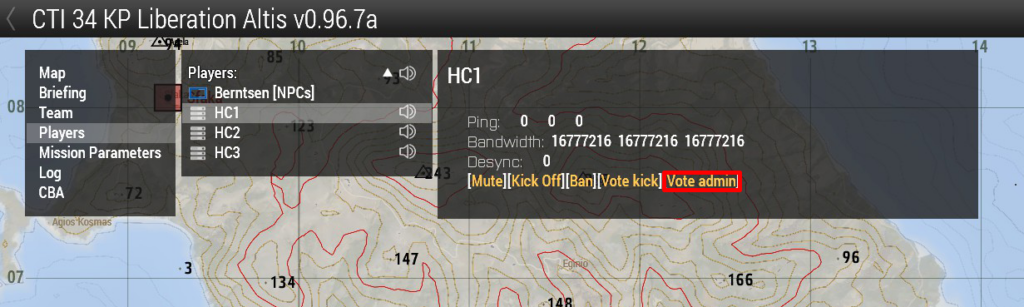
#vote admin: Granting Admin Rights
To promote community involvement and maintain a democratic approach, ArmA 3 provides the “#vote admin” command. This command enables players to initiate a vote to grant admin rights to a specific player. By typing “#vote admin <player name>”, where “<player name>” represents the name of the player nominated for admin privileges, other players can cast their votes. The vote result is determined by the server’s predefined threshold, and if successful, the nominated player will be granted temporary admin rights.
As with many other commands, this can be accessed through the map menu player list:
#vote kick: Community-Driven Player Removal
Similar to the “#kick” command, the “#vote kick” command provides an opportunity for players to collectively decide on removing a disruptive or rule-breaking player from the server. To initiate a vote kick, any player can type “#vote kick <player name>”, specifying the name of the target player. Other players can then cast their votes by typing “#vote kick”. If the vote reaches the required threshold, the offending player will be removed from the server.
The vote can also be cast from the map menu player list.

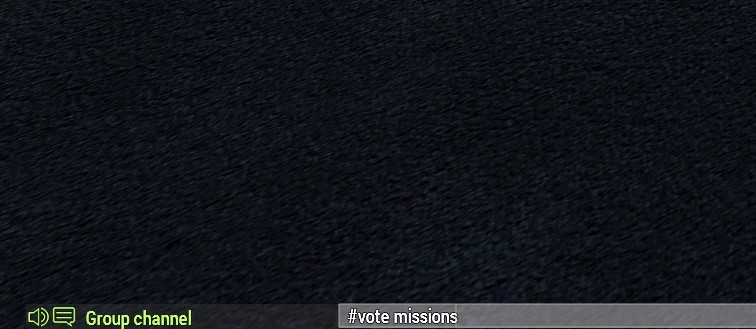
#vote missions: Collaborative Mission Selection
The “#vote missions” command allows players to collectively choose the next mission to be played on the server. By typing “#vote missions”, a list of available missions is presented to all players. Each player can then cast their vote by typing “#vote missions <mission name>”. The mission with the most votes will be selected and loadedfor the next gameplay session, fostering collaboration and engagement among the player base.
In the end
Mastering the essential server commands in ArmA 3 is vital for effective server administration and community management. By understanding and utilizing commands such as “#login,” “#logout,” “#missions,” “#kick,” “#exec,” “#vote admin,” “#vote missions,” and “#vote kick,” server admins can ensure a fair, balanced, and enjoyable multiplayer experience for all players. Remember to exercise these commands responsibly, maintaining server discipline and fostering a positive gaming environment. Happy administering and may your ArmA 3 multiplayer server thrive!